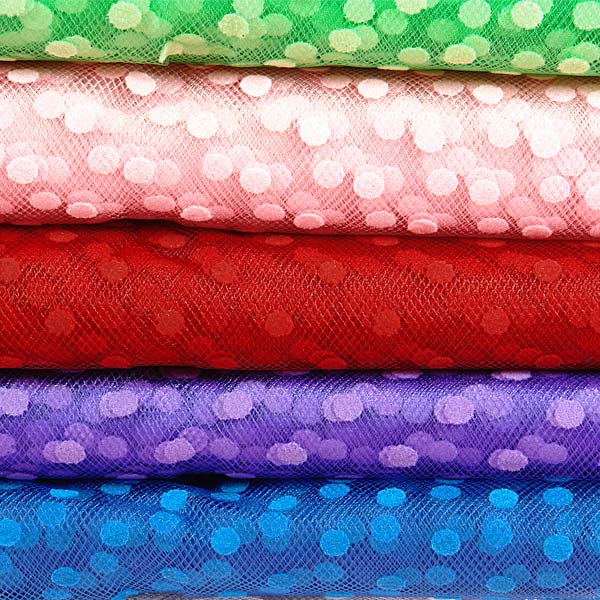
Let’s just start off by saying that tulle is not the type of fabric that will fray when you cut it. The durable, mesh construction of this fabric is designed to hold its shape and stay together, so you don’t necessarily have to sew it just because you trim it. You can easily make a perfect edge with nothing more than scissors or a rotary fabric cutter, just for example. However, there may be any number of reasons that you wish to sew tulle for garments, décor, or craft projects, whether to hold pieces together or add a finishing touch to your designs. Unfortunately, the very nature of tulle as a delicate and sometimes stretchy fabric can make it difficult to sew. But there are ways to sew tulle that will result in the professional-looking finish that you crave with this versatile fabric.
In some cases, a simple whip stitch by hand will do the trick, especially if you’re using stiff tulle as an underskirt and no one will ever see the stitches. But if you’re looking to sew layers of tulle together or you want to sew them to something else, you’ll have to decide whether hand sewing or a machine will better suit your needs. But if you use a machine, make sure you have a proper needle installed. It should be the smallest needle you can find, which would be a size 8 by U.S. standards or 60 for the European system. Whether you sew by machine or by hand, though, you may want to consider using a stabilizer to hold this wispy material in place and allow you to sew in a straight line, without bunching (or to hold the bunches you create without slipping).
Your best bet if you don’t want the stabilizing agent to show after the fact is to use a water soluble stabilizer that will dissolve in water and disappear, leaving only your stitches behind. You’ll start by cutting 1-inch strips of stabilizer and pinning them to either side of the area of tulle you wish to stitch. For added precision, lay your tulle flat on an ironing board, with strips of stabilizer on either side, and push pins directly into the board.
From there you can set your iron to the lowest heat setting (no steam), place a towel over the top layer of stabilizer, and iron the layers just enough to adhere the stabilizer to the tulle. Just be careful – heat will melt tulle and ruin it, so keep exposure brief and work in small sections, removing pins as needed so that you don’t iron over them. Now you’re ready to sew your tulle, and when you’re finished, all you have to do is dab the stabilizer to dissolve it, leaving you with a perfectly sewn length of tulle.
Black W/ Hot Pink Small Dot Tulle Rolls
Economy Colored Polyester Tulle In Rolls
White Honeycomb Tulle
Polka Dot Tulle Rolls
Sparkling Tulle Rolls
Premium Colored Nylon Tulle In Rolls
Metallic Tulle In Rolls
Small Metallic Polka Dot Tulle Rolls
Premium Colored Nylon Tulle In Rolls
Black Polka Dot Tulle In Bolts
Fine Mesh Tulle Bolts
Sparkling Tulle Bolts
Premium Colored Tulle In Bolts
Shimmer Tulle Bolts
Fine Mesh Tulle Bolts
Sparkling Tulle Bolts
Economy Colored Polyester Tulle In Bolts
Shimmer Tulle Bolts
Tulle Circles
Sparkling Tulle RollsPrima Tulle & Satin Pom Pom Pull Bows
——–

