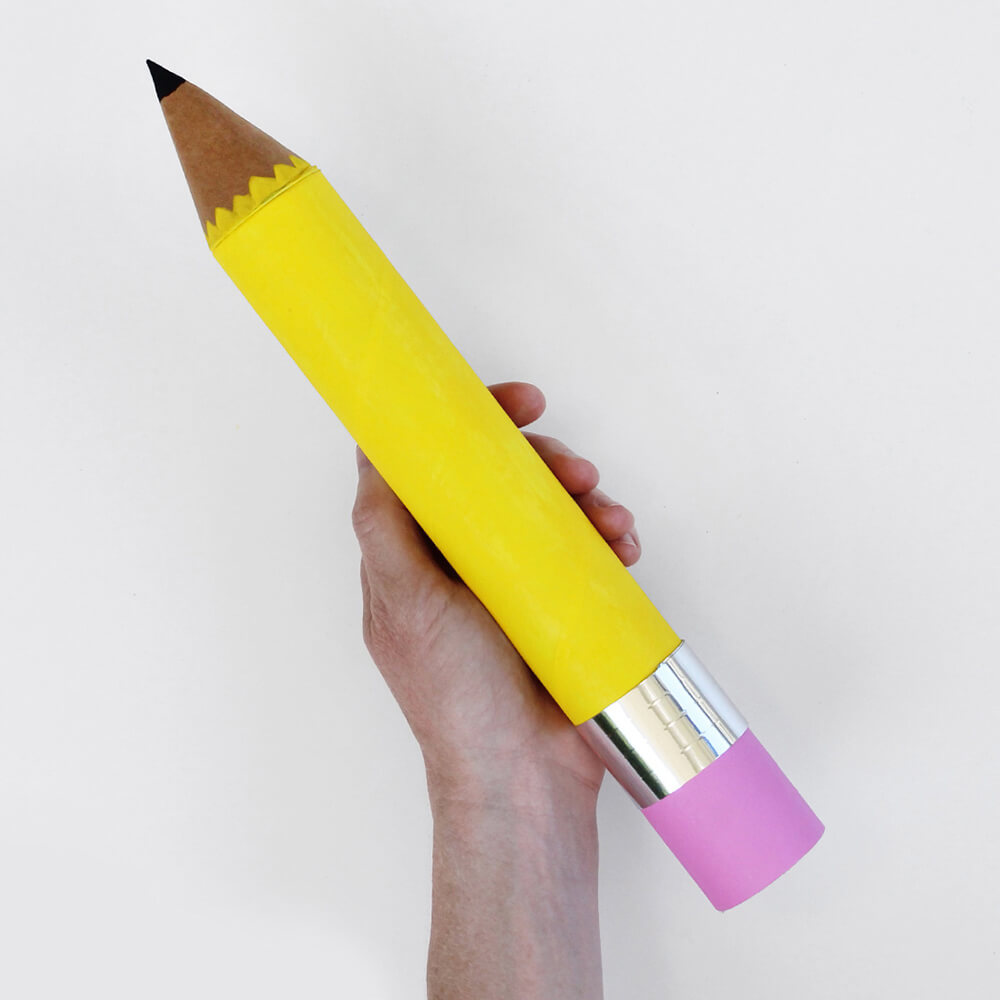
Looking for a fun back-to-school craft? We’ve got you covered! With a little paint, some hot glue, and a simple mailing tube, we made a giant pencil holder. Let us show you how we did it.
DIY Giant Pencil Holder
Decorative school supplies are a great way for kids to show off their unique personalities. We modeled our pencil holder after the classic #2 yellow pencils. Feel free to incorporate other colors and personalize your pencil holder to fit your own personal style.
What You’ll Need
- 2 x 9 White Gloss Mailing Tubes
- 2” Plastic End Cap For Tubes
- Metallic Poster Board
- Roll Of Ribbon
- Hot Glue Sticks / Hot Glue Gun
- Scissors
- Pencil
- Acrylic Paint (Yellow, Pink, Black)
FYI: Shop the mailing tube, poster board, and other craft supplies you’ll need for this craft at PaperMart.com.

How To Make A Giant Pencil Holder
- Paint your pencil body and eraser. Using your acrylic paint, apply an even layer along the exterior of your mailing tube. To mimic the classic look of a #2 pencil, we covered the majority of our mailing tube body with yellow paint and the end of it pink.
- Next, create your metal ring detail using your silver poster board, scissors, and ruler. Cut a 1” strip of your silver poster board and use your ruler to help outline a straight edge. On the metallic surface of your poster board, use the tip of your scissors to create two score marks.
- Once your metal ring is made, wrap it around the tube where your yellow and pink paint meet. Use your hot glue to secure it to the pencil body.
- To create the point of your pencil, place your ribbon spoon onto the surface of your kraft cardstock and trace a circle shape. Once your circle shape has been traced, cut it out, then cut the circle in half.
- Gently form a cone shape by moving one end of your half circle towards the other. Secure with hot glue.
- Next, add the finishing touches using your acrylic paint. Paint small yellow triangles around the base of your cone and at the tip, apply a little black paint to mimic the lead found in a pencil.
- Assemble your pencil. Insert a mailing tube end cap into one end of your yellow tube and attach your cone tip using hot glue.
- Finally, fill your giant pencil holder with your school supplies, insert the second end cap, and show off your handiwork!
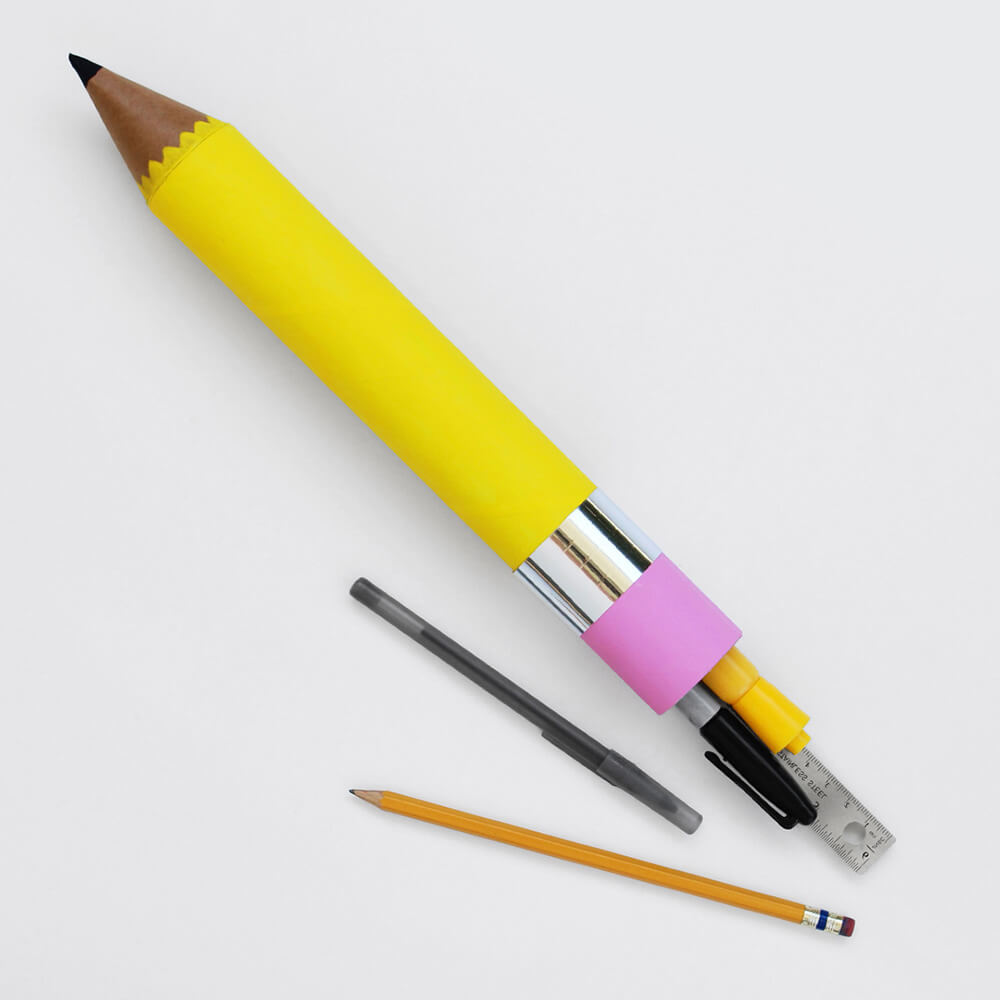
How are you and your family prepping for the school year? Show us how you craft and decorate using our social tag #mypapermart. If you loved this DIY, keep following our blog all year long for craft ideas, tips for small businesses, product features and more!
this is just adorable … great for a teacher gift, fill with a gift card or a bottle of wine, plus anything else that would fit. Keeper.
Amazing work!! Looking for more from you.