When most people think about paper bags, they either think of small bags for holding sack lunches or paper grocery bags. Since these bags are usually discarded quickly, there may be a time when you need a paper bag and do not have one. If you are out of bags, you can learn how to make one at home.
Here are a few simple steps on how to make a paper bag:
Step 1: Gather Paper and Supplies
You can use any type of paper to make a bag. However, you should think about the bag’s purpose when choosing a type of paper. For example, you may want to use kraft paper or parcel paper to make a sturdy bag for holding something heavy. If you want to make a tiny gift bag to hold something very lightweight and delicate, you may even use multiple sheets of tissue paper. Newspaper or colored printing paper can be used for making decorative paper bags. The key idea to use materials that meet visual appeal, and choose a type of paper that is strong enough to hold any items that will be transported inside of the bag.
After you decide on a type of paper, you will need to gather a 9 inch by 15 inch section of paper for each standard-sized bag you want to make. Use those numbers as a scale model if you want to make a larger bag or a smaller bag. In addition to the paper, you will need a durable paper glue. Avoid using a glue stick or liquid glue meant for standard crafts. Purchase any additional decorations you want to put on the paper bag. Some people like to add glitter, rhinestones, paint or other features if the paper bag is a gift bag or a special decoration.
Step 2: Cut and Fold the Paper
If the paper pieces are not 9 inches by 15 inches or the desired scaled variation, use scissors to cut them to size. Put the paper on a flat surface in the landscape position. Front view, the longest side of the paper should run left to right. The shorter sides should run up and down. Carefully fold the paper’s bottom edge upward by 2 inches. To ensure a straight line, fold each side upward at the same time without creasing the paper. This will make a smoother and more even line. Crease the paper after folding it correctly. Unfold the section without creasing it a second time, and remember that this piece will be the bottom of the bag. Using the section as a visual guide point for the bottom, fold the remaining sides in four even sections. You can use a ruler to do this, and make a small tick mark with a pencil at each even section. To calculate the size of each section, divide the width of the paper by four. When the bottom fold is in place, this will form the shape of a bag with all of the sides meeting at the bottom. It is not necessary to keep the bottom folded inward for the next step.
Step 3: Glue the Paper Bag
The final step is gluing the paper bag. It is important to glue the short sides evenly to avoid a rumpled look. Glue them first for best results, and let the paper bag’s glued seam dry before gluing the bottom section. When it is time to glue the bottom section, fold two sides that face each other inward. Put glue on the bottom of those sides, and fold the remaining two sides inward carefully enough to line the bottom sections up evenly. Put one hand inside of the bag and one on the bottom to firmly press and seal the bottom glued panels. After all of the glue has dried, you can decorate the bag to your preferences if desired.
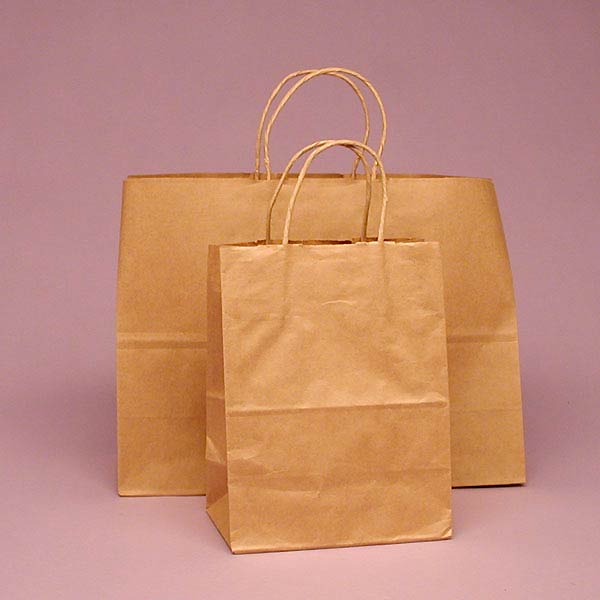
Making a paper bag is a fun project for a craft day. However, it is a cumbersome task to make paper bags for regular use. If you are looking for a quick solution, check out our wide selection of paper bags and fancy paper gift bags for sale.
See Also: Custom Printed Bags