
These popsicle party favors are a fun and easy way to surprise each of your guests with a little bit of summer. We love a cool, refreshing sweet treat on a warm summer day. To us, sugary frozen ice pops are a quintessential snack for the summer. The only issue with these colorful-melty-sugary-snacks: they’re gone too soon.
Popsicle Party Favors
These popsicle party favors are great for birthday parties, ice cream socials, and more! Experiment with different crepe paper colors, fillings, and tube shapes for custom party favors.
Here’s What You’ll Need To Create These Sugary Sweet Popsicles
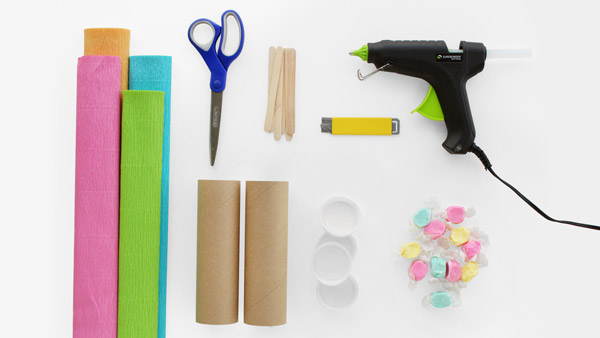
- Colored Crepe Paper
- Scissors
- Popsicle Sticks
- Blade Cutters
- 2” X 6” Brown Mailing Tubes
- 2” Plastic End Caps
- Hot Glue Gun
How To Create Popsicles:
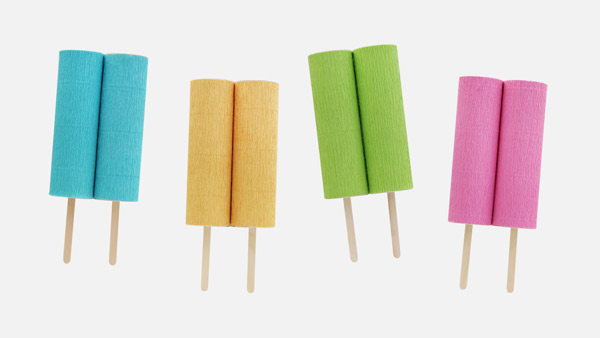
1.) First, create your popsicles by wrapping your mailing tubes with crepe paper. Use hot glue to secure.
2.) Next, get the signature dual popsicle shape by gluing your covered tubes together.
3.) Then, create your base. Use your blade cutter, create a small opening in a plastic end cap. Once the opening is made, slide your popsicle stick through and secure using hot glue.
4.) Fill your popsicles with candy and cover with plastic end caps. Finish by attaching your popsicle base!
FYI: These party favors are great to make with kids, however, make sure harder-to-handle items like blade cutters and hot glue guns are used with adult supervision.
With just a few dots of hot glue and a little creativity, your guests will go home with a party favor that is almost too sweet to share. How do you decorate your parties? Show us at #mypapermart!
If you’re looking to decorate your celebrations even more, check out our Party Supplies page! We have colorful table covers, trendy paper fan sets, and paper straws available in a variety of colors and patterns. If you loved this DIY, stay tuned. We’re looking forward to making more DIY craft videos, tips for small businesses, and product features!
Cute! That would take an awful lot of candy, however — that’s a lot for one guest!