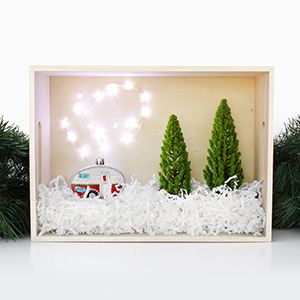
This season, we’ve got a super cute holiday DIY for you. Create your own snowy scene with this DIY shadow box. Learn how to make it here!

Winter Wonderland In A Box
Here’s What You’ll Need To Create This Beautiful Holiday DIY Craft
- Natural Wood Tray
- White Sparkling LED Lights
- White Crinkle Cut Paper
- Packing Tape
- Floral Foam (Cut into small cubes.)
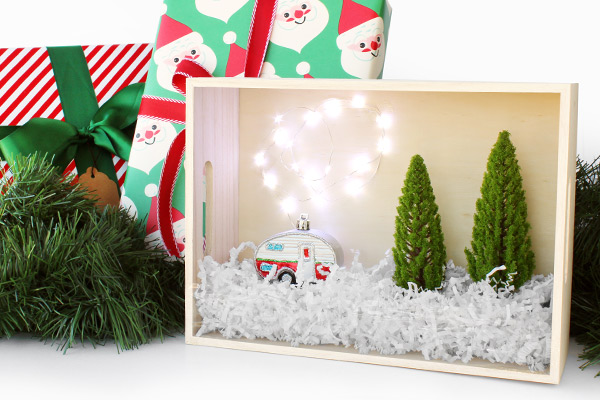
- Your Favorite Holiday Ornament (We used a wanderlusty camper!)
- Mini Pine Trees
- Glue

How To Make This DIY Shadow Box In 3 Easy Steps
Step 1: Set The Scene
- The first thing you want to do is to prep your wood tray for your wintry scene. Place a piece of packing tape along the length of your tray. This tape will help keep the decorative elements of your box neatly contained.

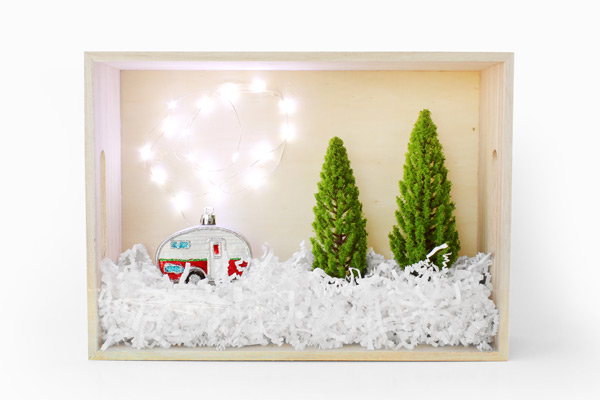
Step 2: Add A Few Twinkling Stars & Pine Trees
- Next, use your tape to hang your LED garland on the inside of your shadow box.
- After your lights have been hung, take your glue and attach a few small cubes of floral foam to the bottom of your shadow box. Use these floral foam cubes as a base for your ornament and mini pine trees.


Step 3: Let It Snow
- No winter scene is complete without a little bit of snow! Taking your white crinkle cut paper, cover the bottom of your shadow box completely.
- Once your snowy Christmas scene has been set, turn your lights on and display!
FYI: If you’re looking for more DIY holiday inspiration, check out our Beautiful Christmas Wreath. It’s easy to make and beautiful to behold!
How are you decorating for the holiday season? Did you want to show off your beautiful holiday DIY gifts or Christmas decor? If you have a great Christmas craft that you want to share with us, let us know! In the meantime, stay tuned. We’ll be making more super fun and easy DIYs all year long, so keep watching for more craft videos, tips for small businesses, and product features!
Can’t wait to try this