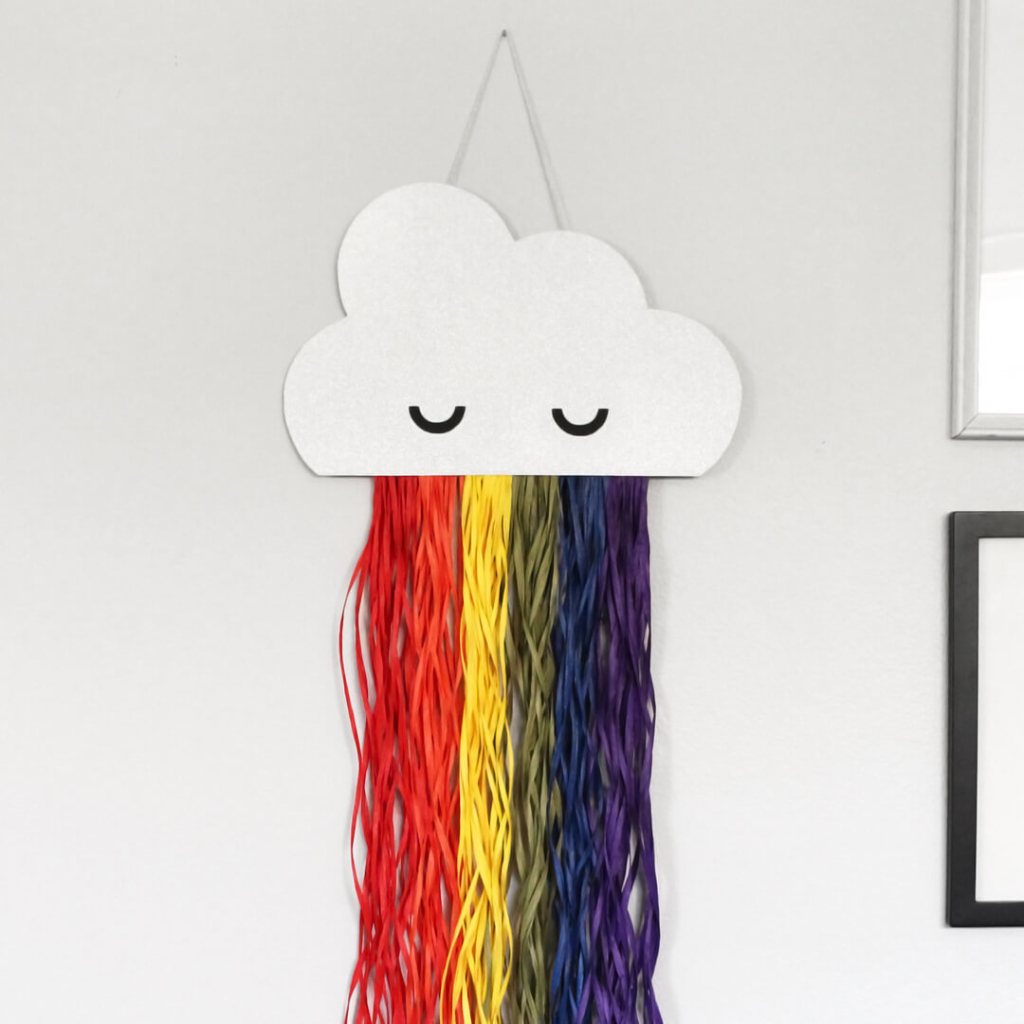
Add a little sunshine and rainbows to your wall decorations with this colorful craft. All you need is some tape, a few lightweight ribbons, and a little creativity. Let us show you how to make your own DIY rainbow wall hanging today!
DIY Rainbow Wall Art
A fun way to brighten up your day and add some color to your home décor is to take a little inspiration from nature. Here, we used a few rolls of brightly colored raffia ribbon and a sparkly poster board to bring the colors of the rainbow into our home.
What You’ll Need:
- Matte Raffia Ribbon (We highlighted the colors of the rainbow – red, orange, yellow, olive, royal, and purple!)
- Silver Glitter Poster Board
- Black Glitter Poster Board
- White Jute Cord
- Magic Mending Invisible Tape 1″ Core
- Washi Tape
- Your Favorite Ribbon Roll
- Glue
- Scissors
- Pencil
FYI: Shop the poster board, lightweight ribbon, and tape you’ll need for this craft at PaperMart.com.

How To Make Your Own Colorful Wall Hanging
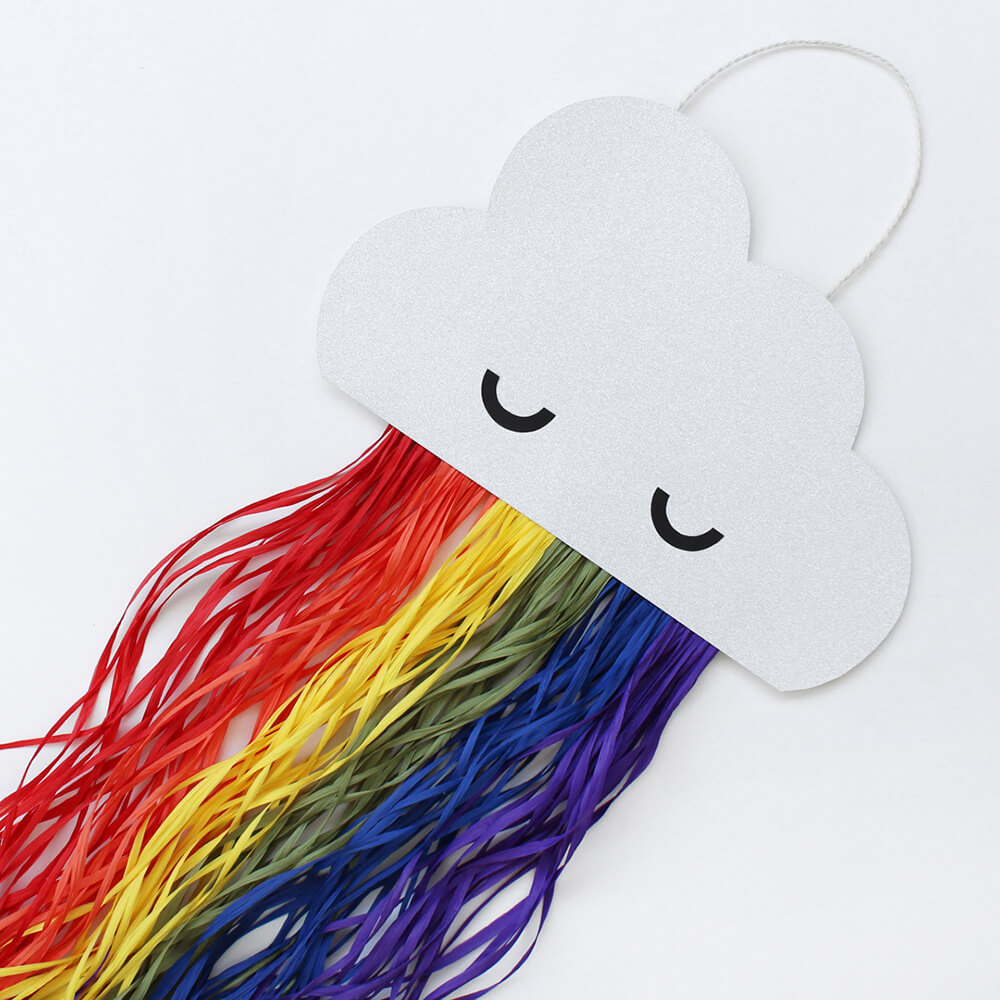
- First, create your cloud shape. Lay your silver poster board on a flat surface with the glitter side facing down. Use your roll of ribbon and pencil to outline a fluffy cloud shape on the back of your poster board. Once your cloud shape has been made, use your scissors to carefully cut along the outline.
- Next, plan out your rainbow. On the back of your poster board, use your pencil to label where each color of your rainbow will be placed.
- After you’ve planned out your ribbon layout, it’s time to trim your ribbon. Using your scissors, cut 20 lengths of yellow raffia ribbon (approximately 3-4’ each). Repeat with each color of ribbon.
- Once your ribbons have been trimmed, use your tape to help keep your ribbon colors together. Then attach each color panel to the back of your cloud. To help keep the spacing of your rainbow even, begin with your center colors and work your way outwards.
- Next, add some personality to your cloud! Use your washi tape to trace two half circle eyes from your black poster board and glue to the front of your cloud.
- Attach your twine. Cut a length of twine and attach each edge to the back of your cloud to create a simple way to hang and display.
- After your hanging method has been made, trim your color panels. If your rainbow panels are too long, use your scissors to carefully trim each panel to your liking.
- Finally, display your new rainbow art piece and enjoy!
How do you brighten up your space? Share your ideas with us using the #MyPaperMart social tag! We love seeing the things you create! Share it with us on Facebook or Instagram and stay tuned for more how-to’s, Paper Mart news, product features, and more!
My 2 young grandsons LOVE rainbows! This is the perfect project for Mimi and the boys! Thank you!
Now, that’s what called “perfection.” Keep it up!!