You may not realize this but, there are many alternatives to the classic ceramic potted planter. From glass jars and tins to jute wrapped containers – we’ve seen upcycled planters made from all sorts of materials! All you really need to get started is a nice sunny spot, an ample amount of soil, and a container.
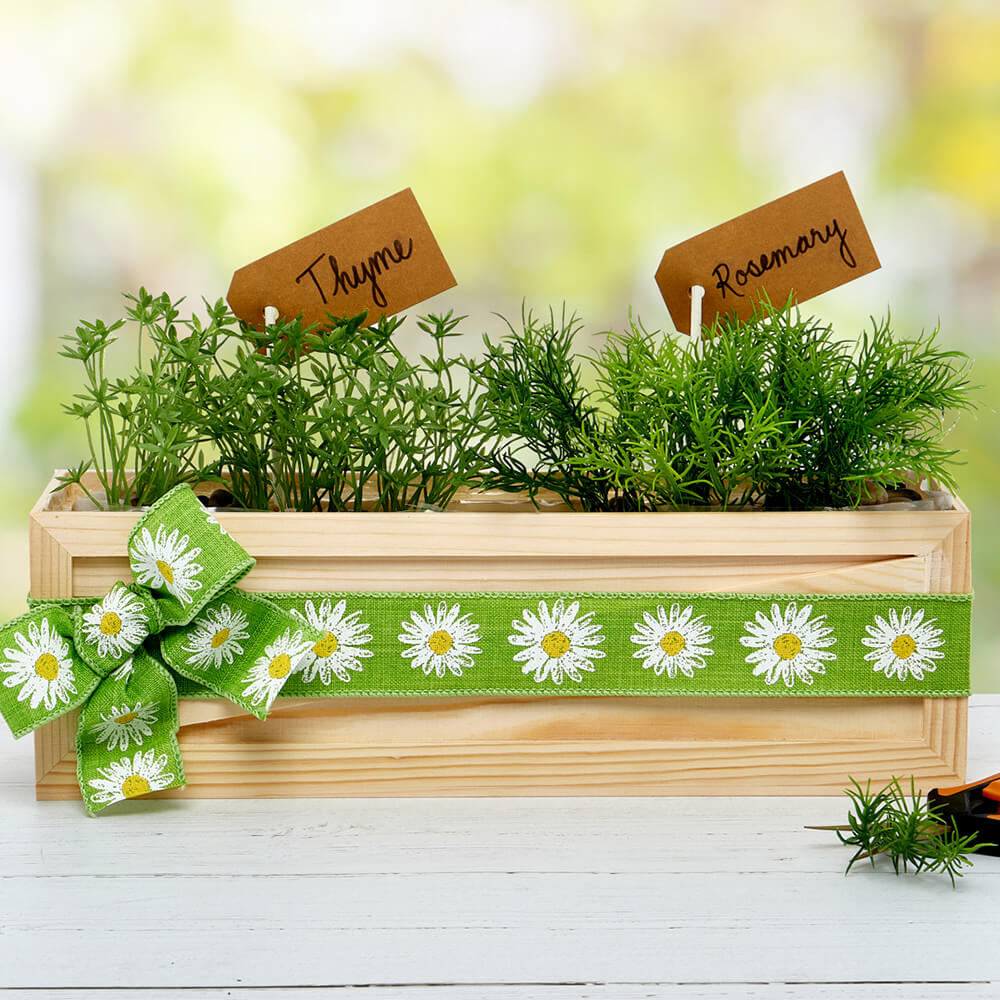
Here, we’re transforming a wooden wine box into an herb planter in three simple steps. Learn how to make your own upcycled planter today!
Upcycling Magic: From Rustic Wine Crate To Whimsical Herb Planter
When it comes to finding a home for your plants, the possibilities are endless. Here are a few very basic steps and planting principles to make any container work for you and your plants.
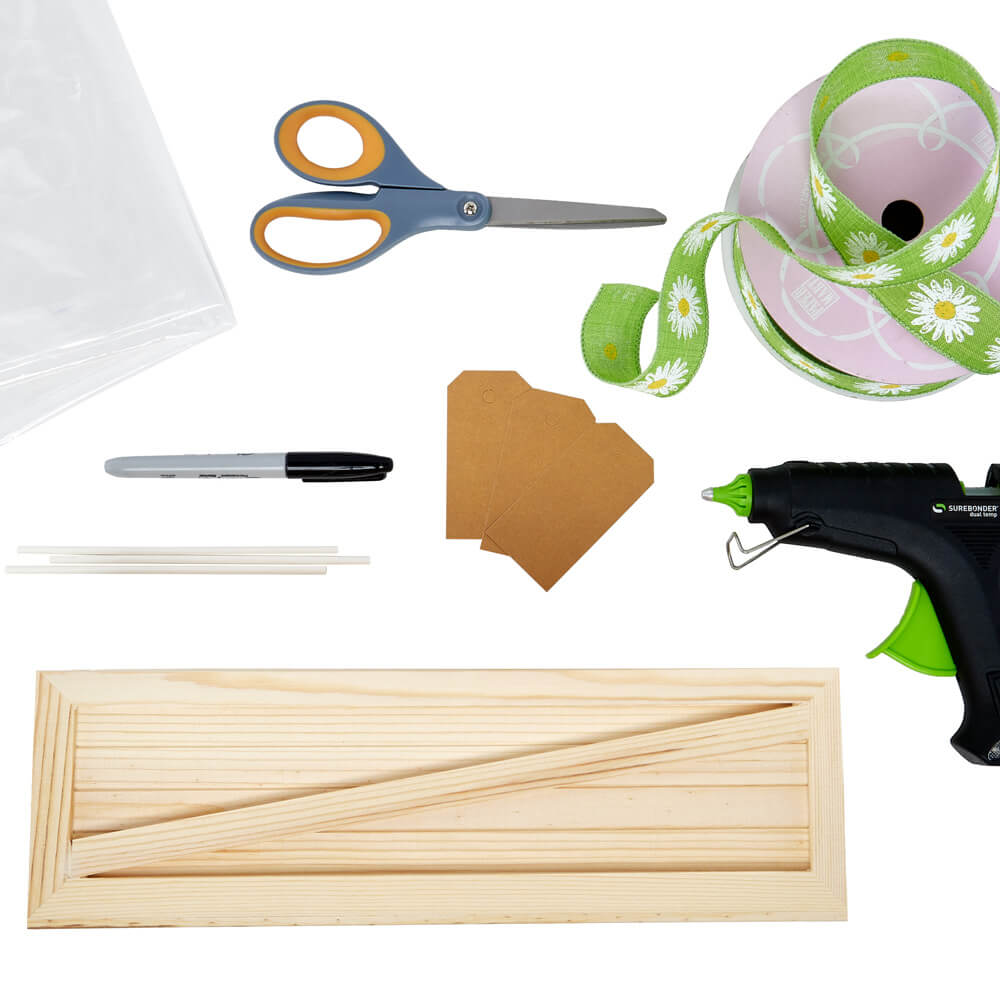
Our Upcycled Planter Shopping List:
- Wooden Wine Crate
- Wood Sticks
- Unstrung Kraft Gift Tags
- Clear Thick Trash Can Liners
- Soft Grip Scissors
- Glue Gun & Glue Sticks
- Marker
- Our Favorite Potted Herbs & Soil Mixture
Here’s How To Make Your Own DIY Upcycled Planter
Step 1: Prep Your Planter
When you’re upcycling a container for a planter, consider the material you’re working with and what you’re going to put into it.
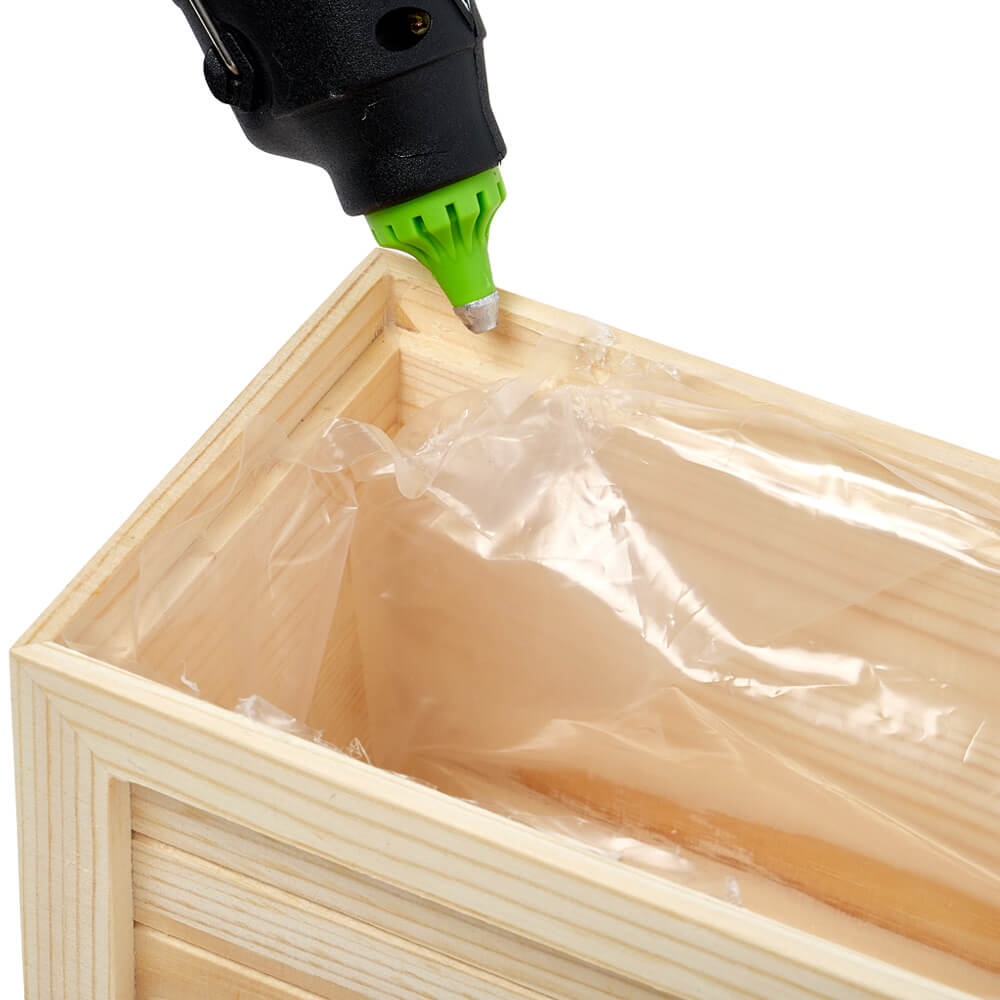
Our wine crate is made of a natural paulownia wood that can soften, age, and oxidize when in contact with moisture. If it’s being used as a planter we’ll need to protect its surface from any moisture. To help delay the natural aging and to control any moisture in our planter, we lined our box with a plastic trash can liner, cut it to size, then used hot glue to secure the plastic to our box edges.
Step 2: Fill Your Planter
Every plant container should have some sort of proper drainage and moisture control to help your plant’s roots breathe and prevent root rot. Classic terracotta or porcelain pots usually have a porous surface and drainage holes at the bottom to help recirculate the air and let the moisture dissipate.
Our plastic lined planter won’t have a lot of opportunity to drain moisture and improve aeration. So, we filled our planter with a soil mixture of healthy potting soil, large rocks, and wood chips, then inserted our herbs. This combination of soil and large rocks should help encourage happy and healthy root growth with ample air circulation.
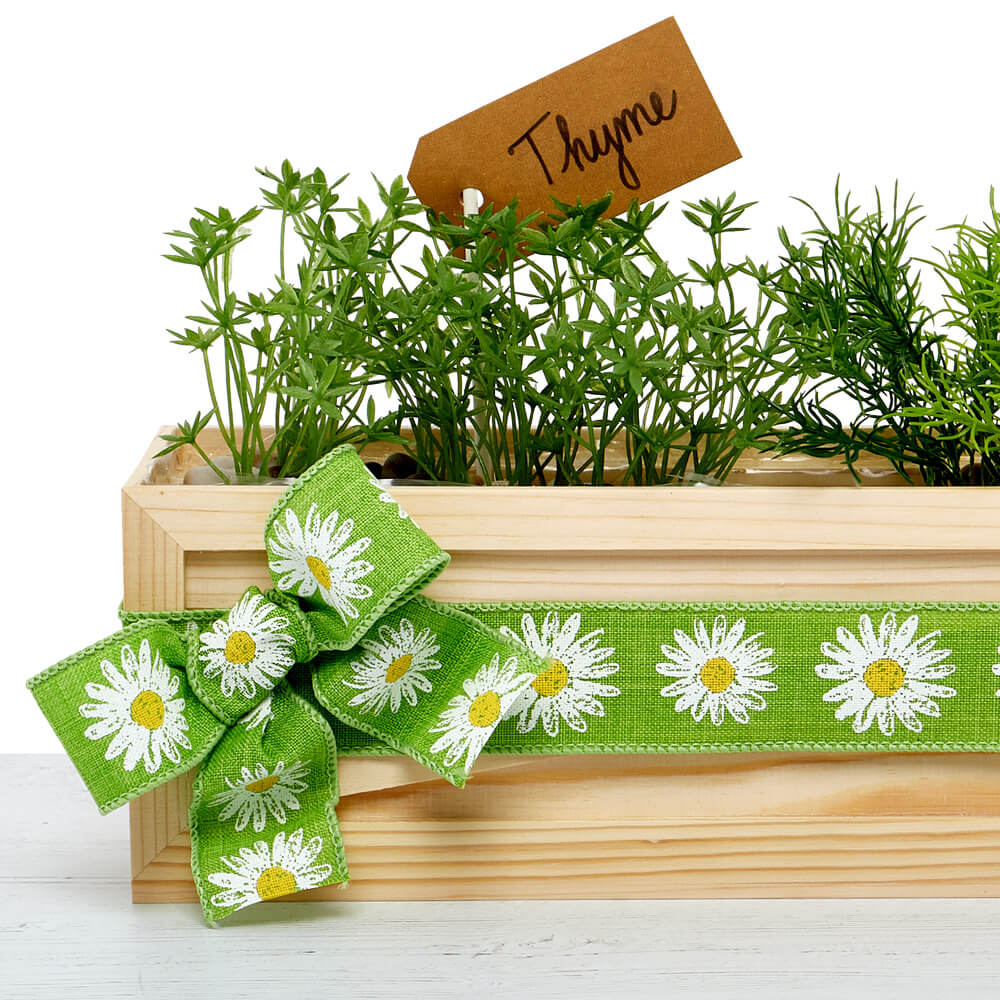
Step 3: Create Your Labels & Embellishments
If you’re putting different types of plants into a single planter, it’s a good idea to label them for quick and easy identification.

To make our labels, we used a marker to write out the name of each herb on one side of a blank kraft tag, then used hot glue to secure the tag to the end of a wooden stick. Once labeled, we gently insert the stick near the corresponding herb. To embellish, we tied a decorative ribbon around the box exterior and secured it with hot glue.
Do you have a container that you’re planning on repurposing? Show us using the social tag #MyPaperMart! In the meantime, stay tuned to our blog. We’re looking forward to creating more craft videos, tips for small businesses, and product features!